

The walls are in place and the roof trusses are up. Don and crew are now working on the roof ZIP sheathing. It’s starting the come together and look like a house! The weather has been amazing, and that might be a big reason why so much got done this week.
Using the lull to raise the SIP walls
The ground dried up enough so that Don could maneuver the lull through the mud, allowing him to raise the SIPs on the east and west sides. These panels are considerable bigger than those on the north and south sides. It would have been difficult to lift them by hand, so we really lucked out.
The movie shows the lull lifting the SIP, with a rope used to stabilize the SIP. Notice how the SIP starts to slip off the fork, and then the guys on the roof were able to pull it back into place, but not before having to walk out on the headers like acrobats. They are fearless. Keep in mind that there’s no floor under them – they are balancing on the header beams, and on one side there’s a two story drop!

Once the lull got the SIP most of the way up, the guys on the roof were able to pull it upright against the house.

To help lift the panel onto the foundation ledge by hand, a little plastic handle came in handy.

Sliding these large panels over was difficult, so the lull was used to push them in place. For some reason, the panels on this side came out bowed and it was tough to get them to interlock. Using the lull to push on the panel, the guys banged furiously on the seam, gradually jostling the two panels together.
Update on the views from the windows out back

It’s interesting. Now that the walls are up, I’m more happy with the views out back. The walls do indeed obscure parts of the view that were wonderful, but now that you can’t see those parts, you don’t know they are missing. Instead, all you see is a subset of the view, but it looks charming regardless.
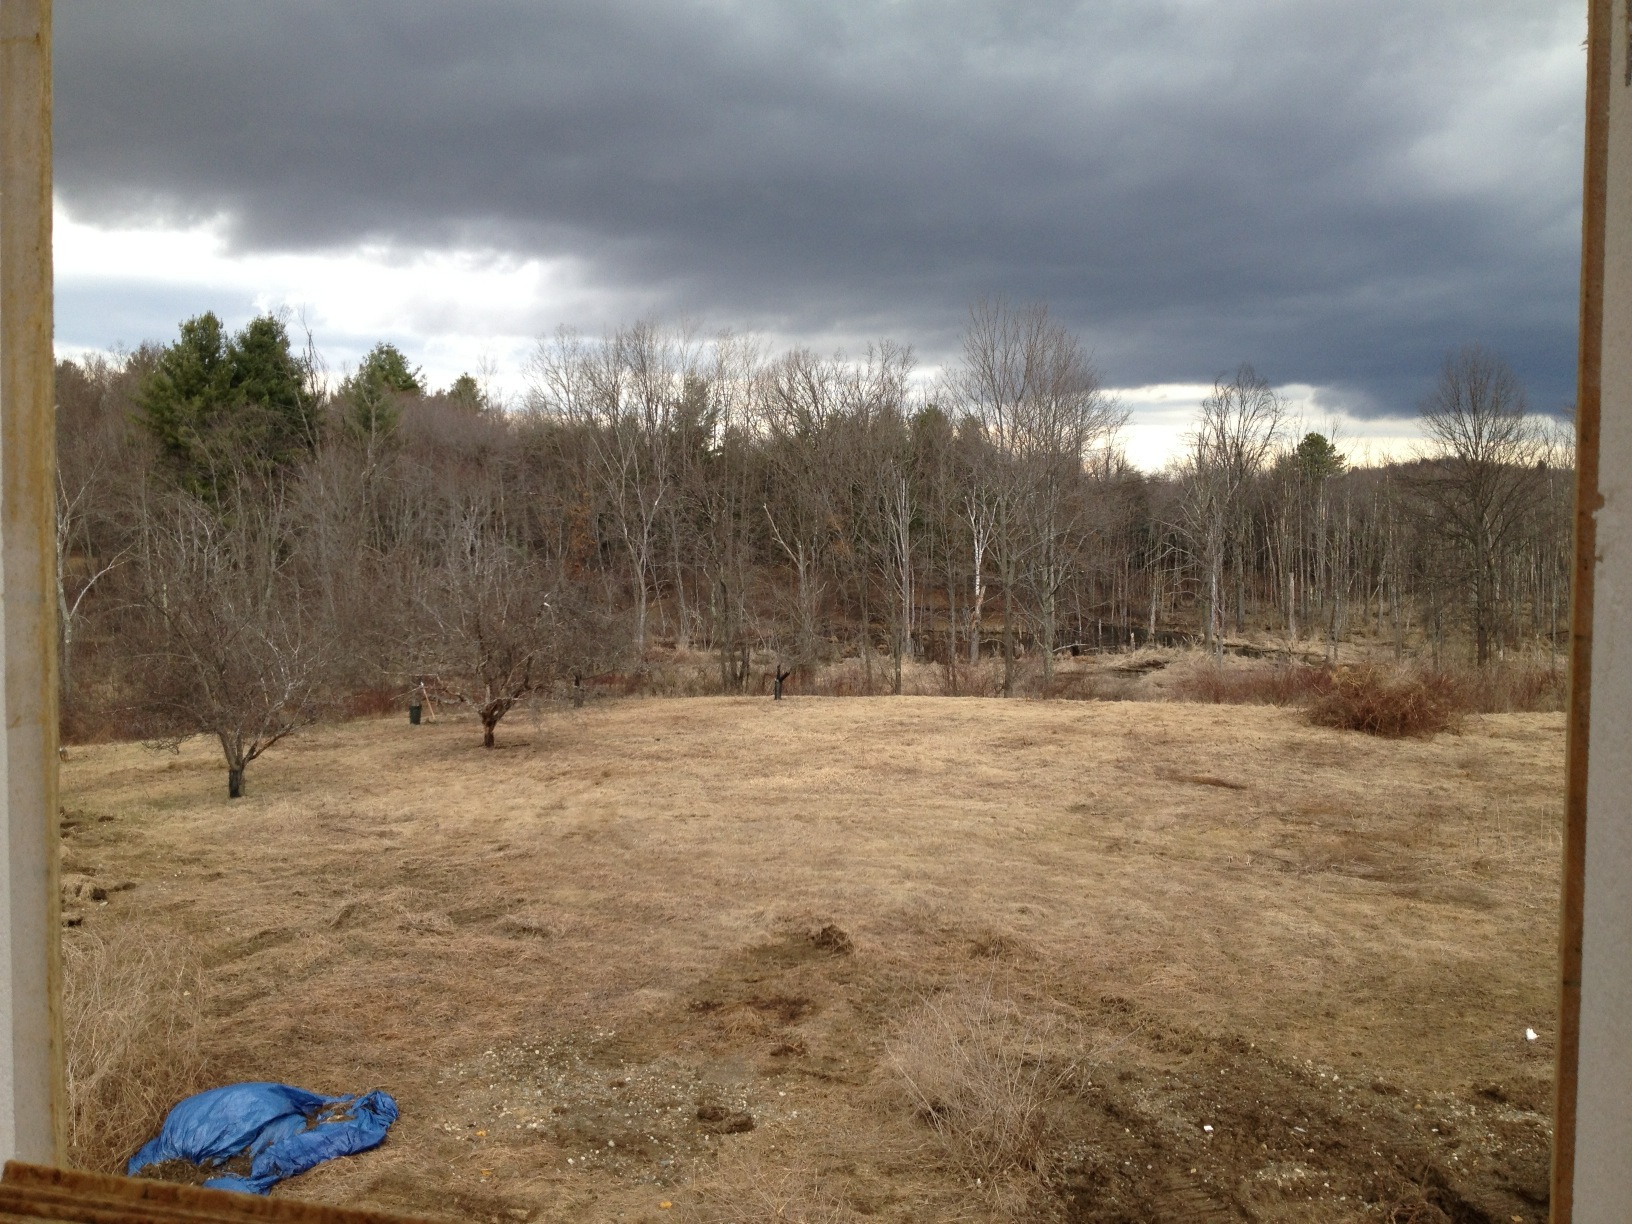
If you walk up to the rear bedroom window, you can get a pretty wide angle view, just not the whole wrap around view. Still, it would have been nice to have more windows on this side of the house, but I’m happy with how it turned out. Neighbor Jesse (an architect, coincidentally) says that sometimes it’s good to have to work for the view.
Details at the window frame and roof eave

ZIP sheathing at the window opening provides a moisture resistive barrier and air barrier all in one panel. The edge of the sheathing is taped around the corner of the rough opening.

At the roof eave, the ZIP sheathing is placed face down. The tape runs along the underside of the sheathing and is dangling out, eventually to be taped to more ZIP sheathing that will run under the roof truss. Lots of caulking went under the ZIP sheathing – between the SIP and the ZIP – presumably to allow the SIP to expand without lifting apart the critical ZIP barrier. More tape will go on the other corner of the ZIP where it meets the outer side of the SIP.
Roof trusses arrived

The roof trusses were manufactured off site and delivered on Tuesday. The lull came in handy for getting these up on the roof.

The rest of the week was spent working on the roof, even with two extra guys for some of the time. It seemed like a lot of work went into getting this part of the roof together.
Great article! I was looking for this type of article thanks for sharing this informative article with us. You should share more about Water Sensitive Urban Design.
ReplyDeleteThis is a very well-written and informative post. I really appreciate how clearly the topic has been explained, especially the way key points are broken down in a simple and easy-to-understand manner. Content like this is very helpful for readers who want to gain practical knowledge rather than just surface-level information. Thank you for taking the time to create and share such valuable content. Looking forward to reading more posts like this in the future.
ReplyDelete