
The week involved finishing the roof sheathing, working on the window frames and building a temporary staircase. Things are starting to get detailed, and are taking more time. Below, I’ll show how the windows are framed since the process appears to be non-standard (and important).
Roof almost done before the snow

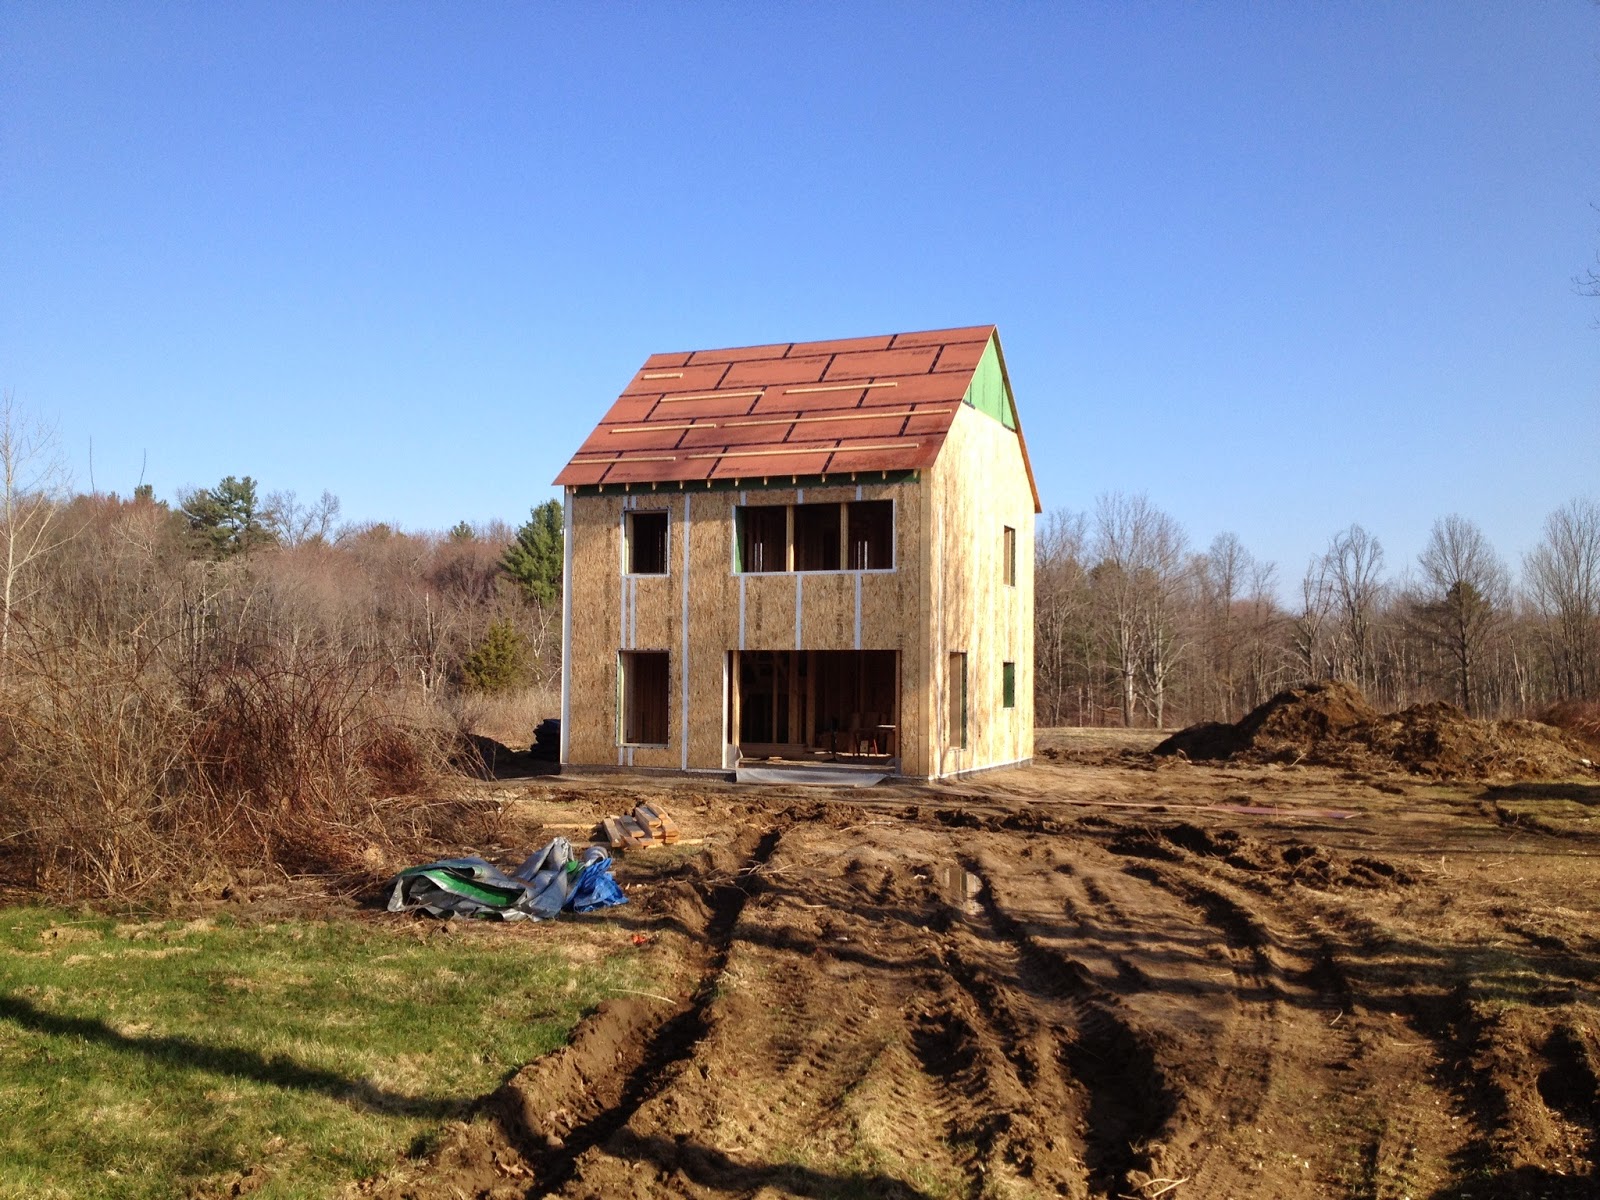
Don almost had the roof complete before the wind picked up and nearly blew him off (according to how he tells it). The next day, the rain and snow ended up getting everywhere. Above, a little bit of snow is still left on the roof after the storm. I love this shot of the back of the house from the apple orchard. As architect Todd said: “the house sits nicely on the land.”
A look at the scissor roof trusses

Here’s a cool shot of the scissor trusses. ZIP panels will be attached to the underside, forming the air barrier as well as the gabled ceiling of the two front rooms. Almost 2 feet of blown-in cellulose insulation will go on top of the ZIP panels, outside the airtight envelope. There is some reduction in the insulating ability of the cellulose due to the fact that cold air will be able to move through the insulation, but the advantage is that moisture will not get trapped.

The roof truss at the eave sits on the ZIP air barrier. The ZIP will continue along the scissor truss. Notice how the floor joists are angled to accommodate the ZIP and drywall.
It takes time to frame these windows

Normally, the window framing would be complete at this point (except the sill is missing in the image above). With our construction, the window frame spans two walls: the SIP wall and the stud wall, so there’s quite a bit more to do. The two walls must be bridged in a way that is airtight and moisture repellent. Don and a helper spent much of the week finishing the extra steps to frame the windows, and reported that the process was somewhat elaborate and time consuming.
First, if you look closely at the SIP part of the frame, you’ll see a gap between exterior OSB panel and the foam insulation. That gap is meant to allow 2 x 2 wood pieces to be wedged there, to provide somewhere to nail the rest of the framing to the SIP.

Next, the green ZIP sheathing is nailed to the frame, bridging the two walls. Caulking is applied under the ZIP to prevent water and air from migrating horizontally.

2 x 10 boards are nailed to the ZIP to provide a solid wood frame, to which the window can be attached. Again, caulking is applied under the boards.

The entire window frame has the appearance of being over-engineered — it’s three boards thick in some places. I wonder if this bomb-proof structure is by design — to reduce load stresses and sheer stress from the windows — or if it’s just a function of having to deal with the SIP wall and stud wall discontinuity. As you might imagine, measuring all these boards, caulking and nailing takes a substantial amount of time.

But we’re not finished. Outside (1st floor window pictured here), the SIP is affixed to the interior window frame with gigantically long screws, and then tape is applied where the ZIP meets the SIP. As far as I can tell, this location — the outside of the SIP — is the primary air barrier. The window will sit right on the edge of the innermost 2 x 10 boards.
No comments:
Post a Comment