

It was an exciting week. Don finished the second floor framing and spent Thursday and Friday putting up the SIPs along the north and south walls, with the help of two younger guys. They were an awesome team to watch, constantly bantering, moving here and there, helping each other out, and communicating about tactics, problems and next steps. It’s great to see an experienced team — a fine tuned machine — working like that. They are, however, pretty cavalier about running up and down the ladders — the most jiggly and unstable ladders I’ve ever seen — which was scary to watch, but entertaining.
Forklift instead of a crane, didn’t work out
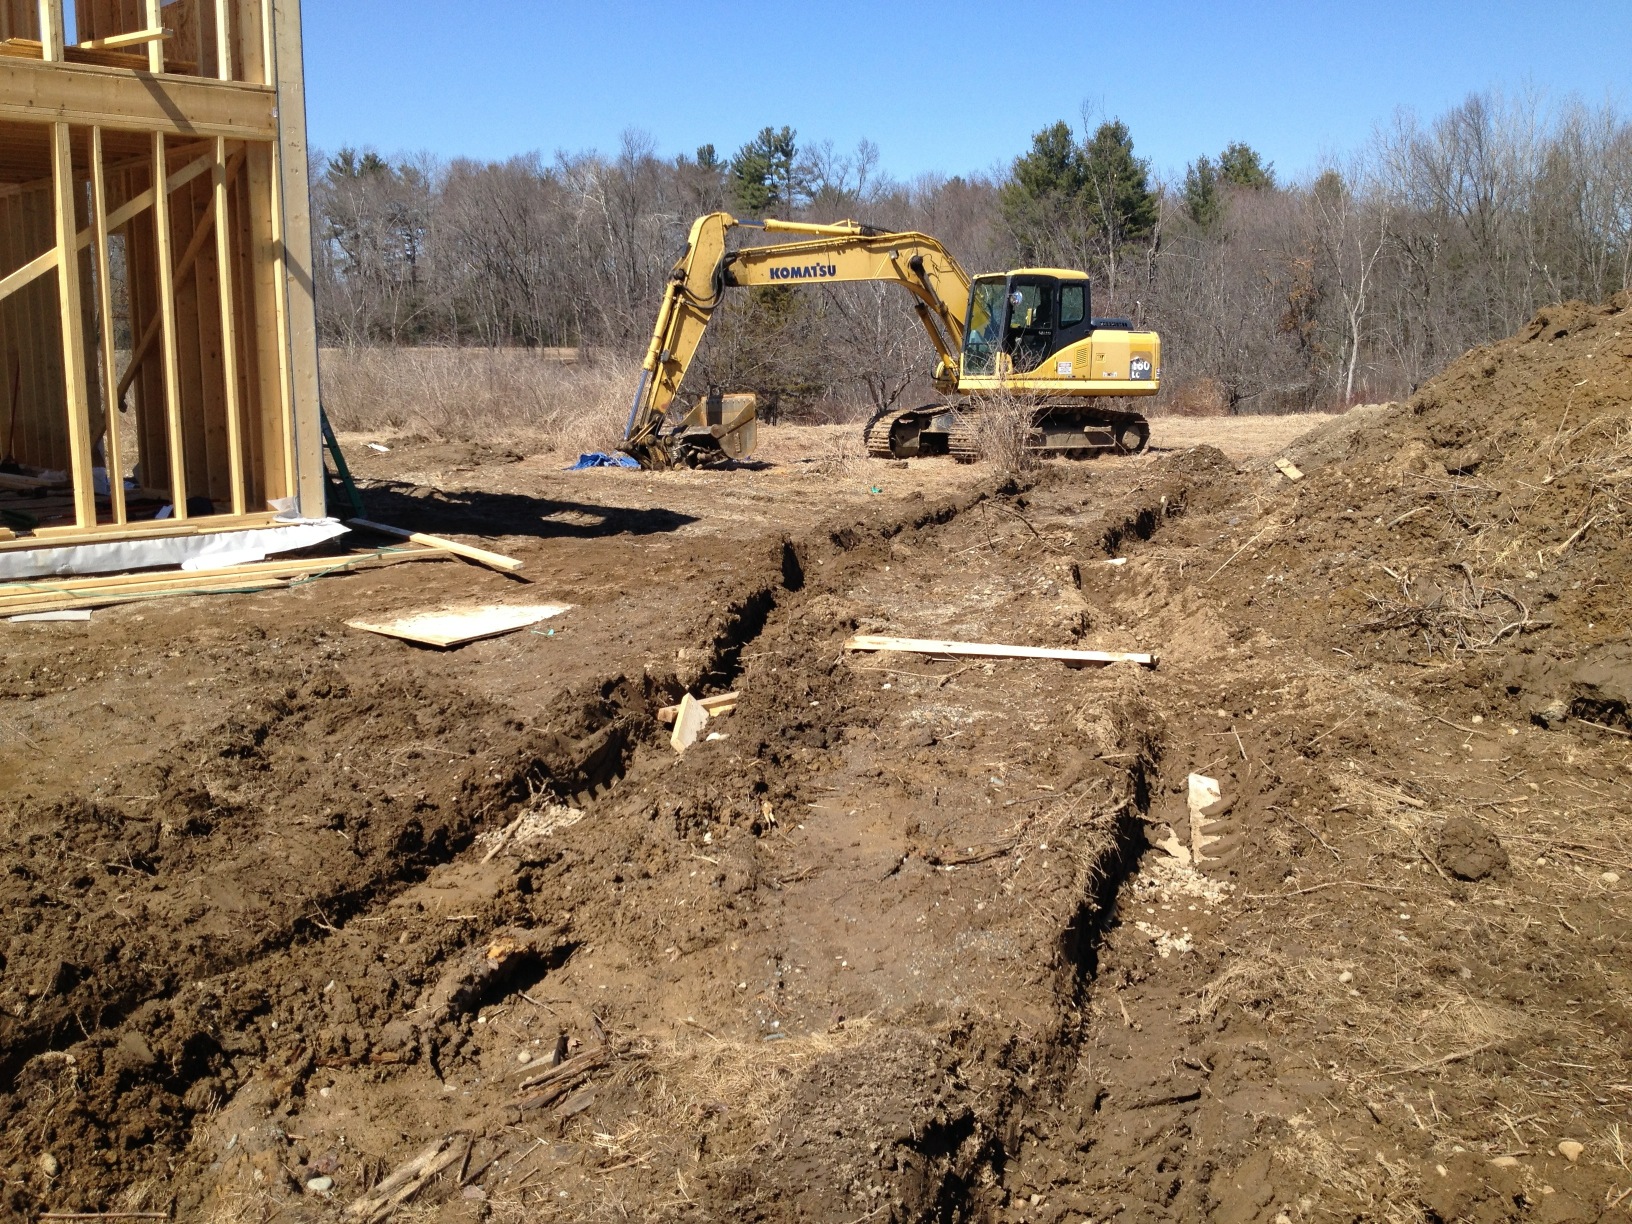
Instead of a crane, Integrity decided to use a large forklift to lift the SIPs. A crane is more expensive than a forklift and it seemed like it would do the job just as well. Turns out that we didn’t even need the forklift. It got stuck in the mud around the perimeter of the home, and wast therefore totally useless. It’s not clear from the image above, but those tracks are at least two feet deep.
Raising the SIPs
Instead, we carried over the SIPs by hand and raised them by walking it up from one end, as the video above shows. It’s pretty heavy, but doable.
The whole SIP installation process

First, narrow strips of OSB are measured and cut, inserted into the grove at the SIP’s edge, and nailed into place. These inserts help lock the SIPs together.

The plastic vapor barrier is wrapped from under the concrete, over the EPS foam, back over a piece of plywood directly on top of the foam, and then up along the frame. A double strip of caulking is applied to the plastic at the ledge where the SIP will sit.
Once the SIP is standing vertically, it must be lifted up onto the ledge, which is awkward, but the guys were able to do it — they seem to have fingers of glue. Then the SIP is slid over against its neighbor. It is surprisingly easy to slide the SIP along the ledge, apparently due to the smoothness of the plastic and an ample amount of caulking. Banging along bottom of the SIP gets the bottom end flush with the adjacent panel (to within an eight to a quarter of an inch), where it is fixed with a nail before the top is wedged into place, bringing the whole panel flush with its neighbor.

The image above shows Don nailing the panel to the insert.

A 2 x 8 board is laid in the grove at the top of the SIP and nailed into place.

Gigantic screws fasten the SIP to the frame.

By the end of Thursday, almost the whole north wall was complete.

Because of the extra spacing between each panel, about 1/2“ to 3/4” had to be cut off of the end of the panel to make it flush with the frame.
Finally getting to see how the window openings look
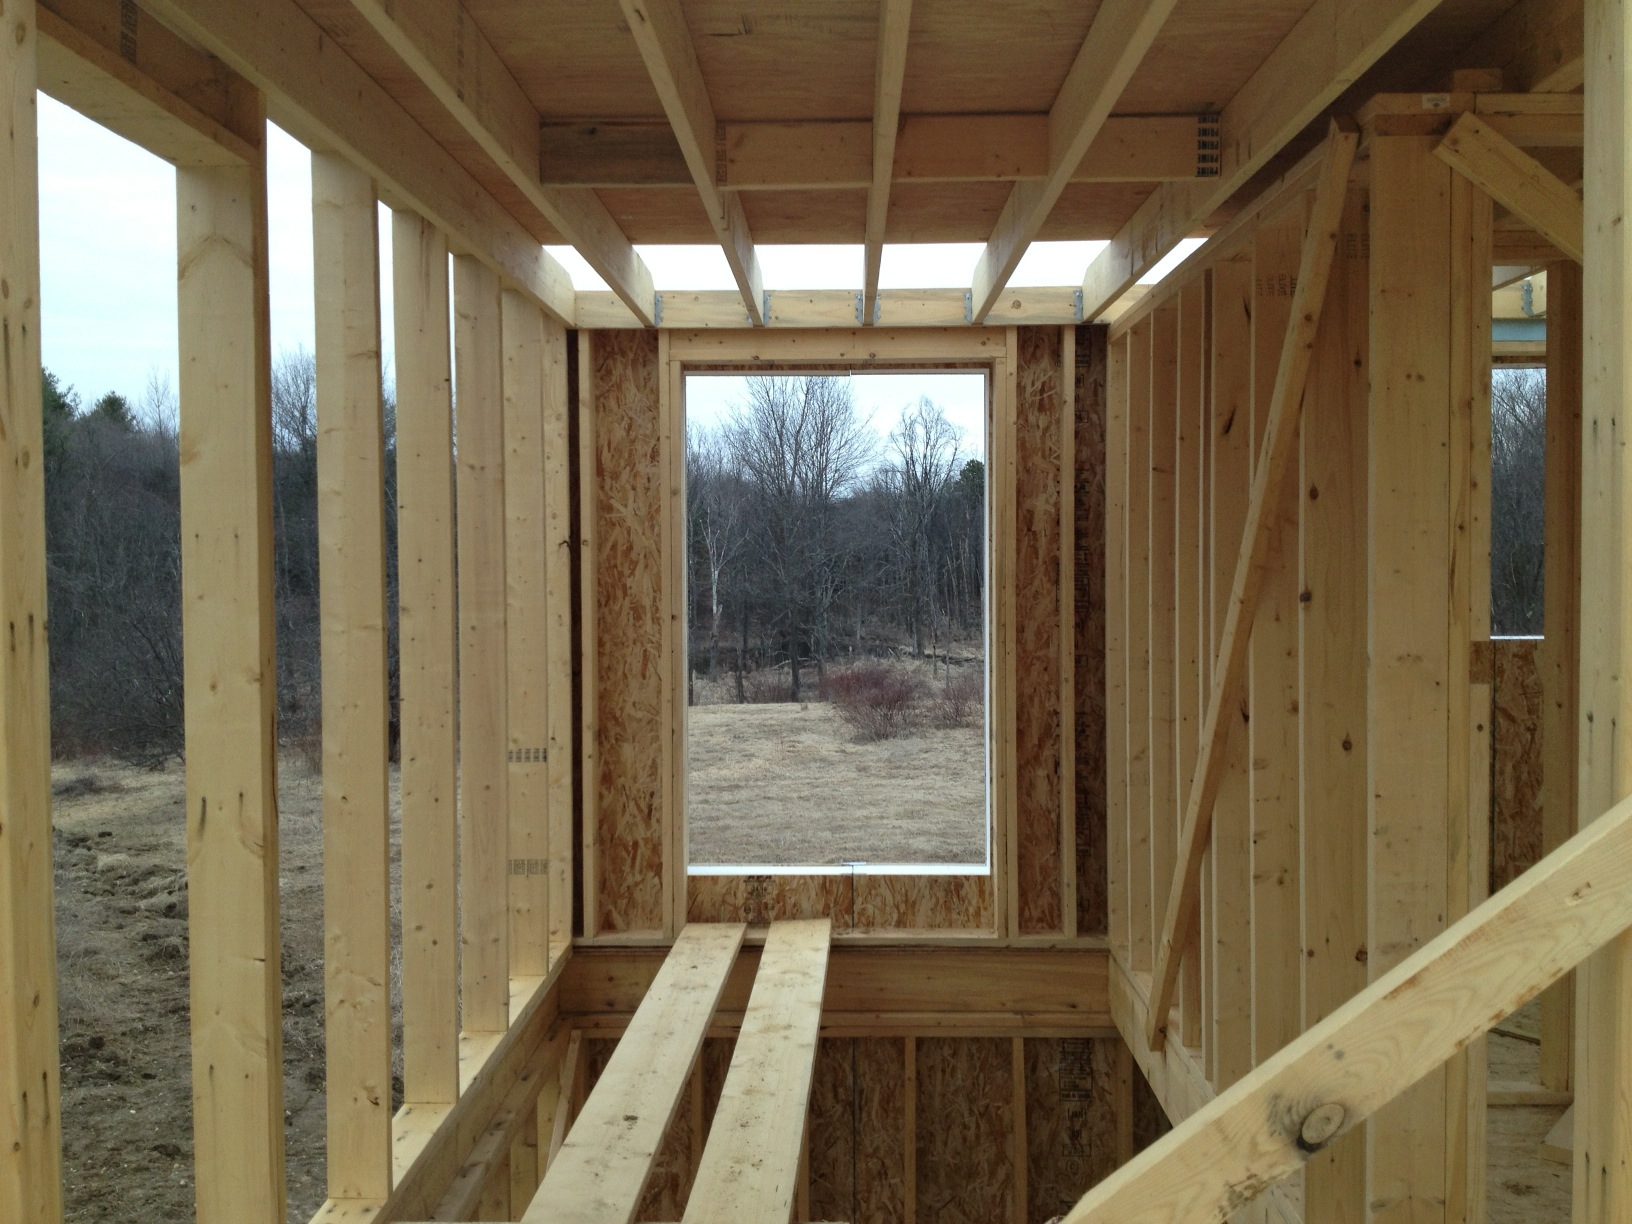
I’ve been looking forward to seeing how the top of the stairway would turn out for about a year now. Looking out at the window over the stairs settles it: let’s remove the shelving at the top of the stairs — the view would be interrupted too severely. The question remains: how will we make up for the lost storage space?

Looking in the other direction, the study window feels a bit small, but the mountain is nicely framed.

Adding the third window in the middle really makes this view from the master bedroom work. I’m so glad we decided to go with it.
This is a very well-written and informative post. I really appreciate how clearly the topic has been explained, especially the way key points are broken down in a simple and easy-to-understand manner. Content like this is very helpful for readers who want to gain practical knowledge rather than just surface-level information. Thank you for taking the time to create and share such valuable content. Looking forward to reading more posts like this in the future.
ReplyDelete