Showing posts with label foundation. Show all posts

Monday, March 10, 2014

Week 9 - SIPs wall panels are here!

img-alternative-text

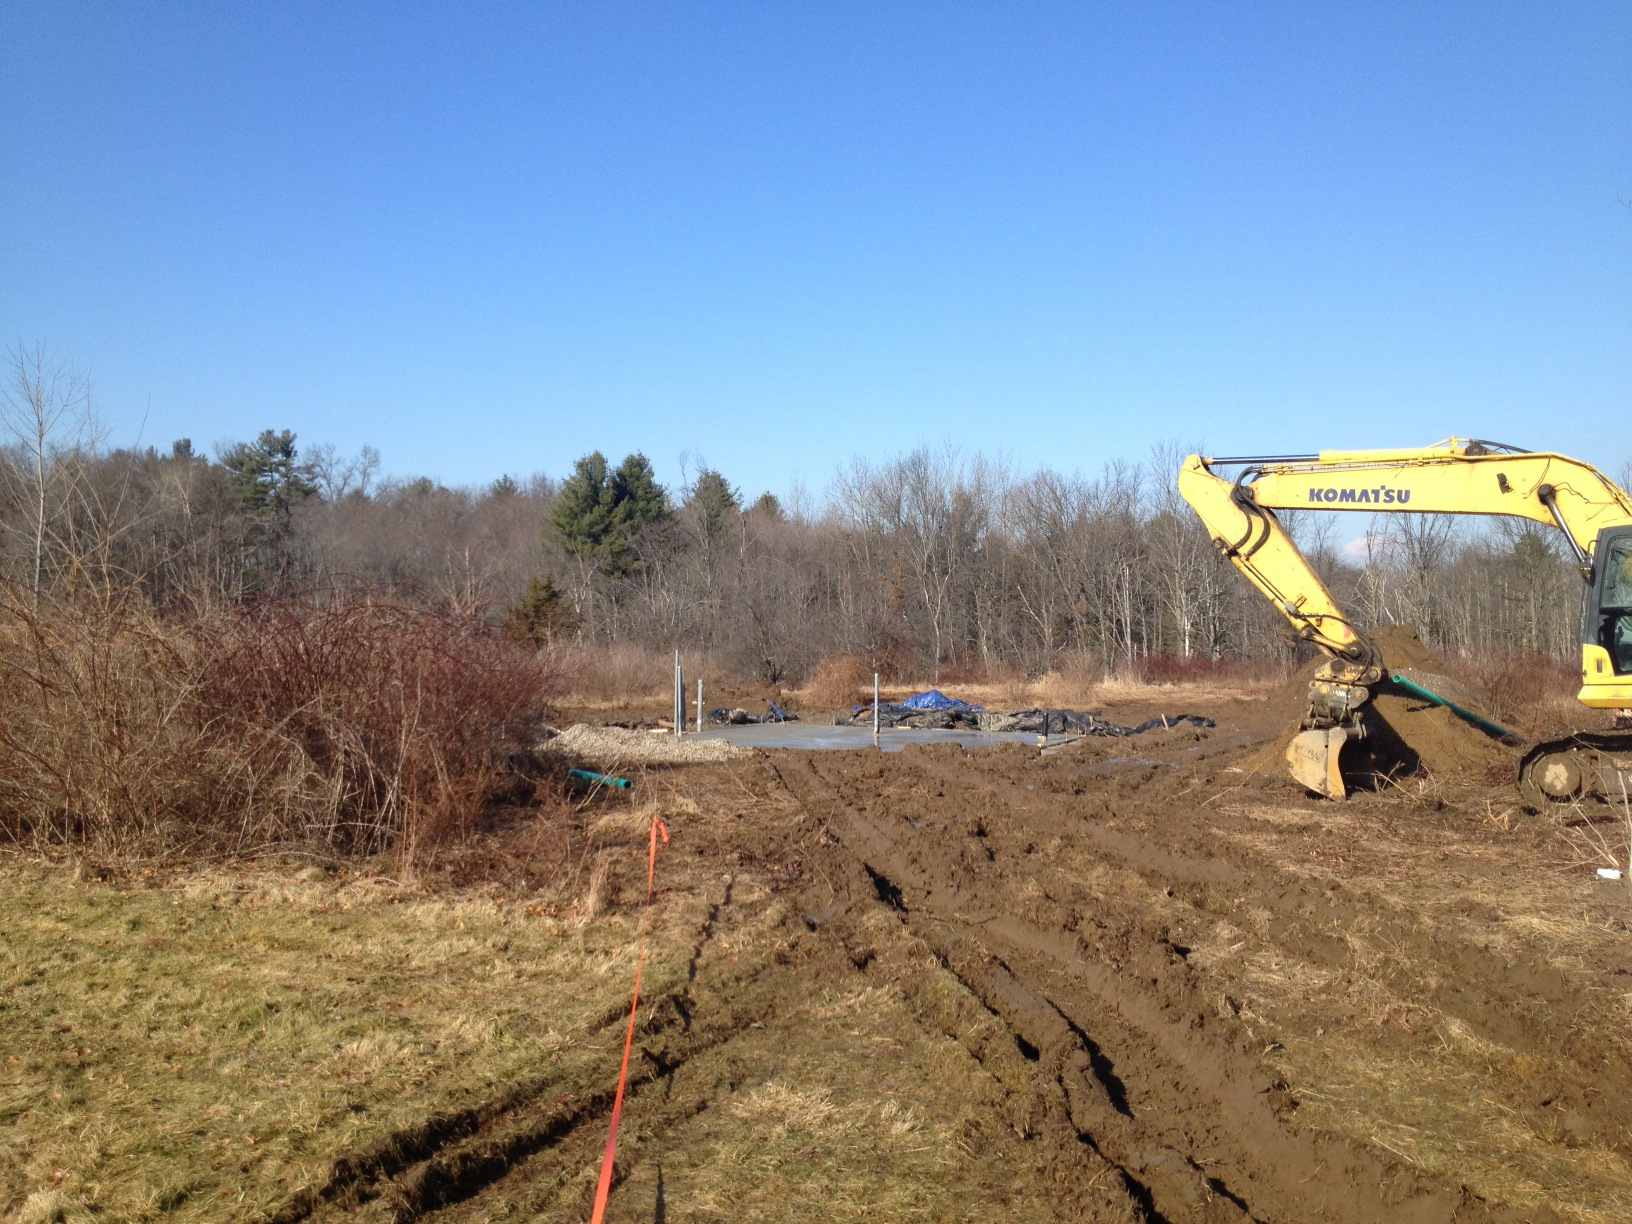
I got a text on Friday from my trusted neighbor-spy Jesse saying "SIPs just rolled in!" I was out of town, but on Sunday I got to check them out — notice the stacked, thick white panels sitting on the ground. Also, the tent for the concrete came down, so I got to check out the concrete in the full sunlight. It looks good — a huge relief!

SIPs are awesome!

image-2363

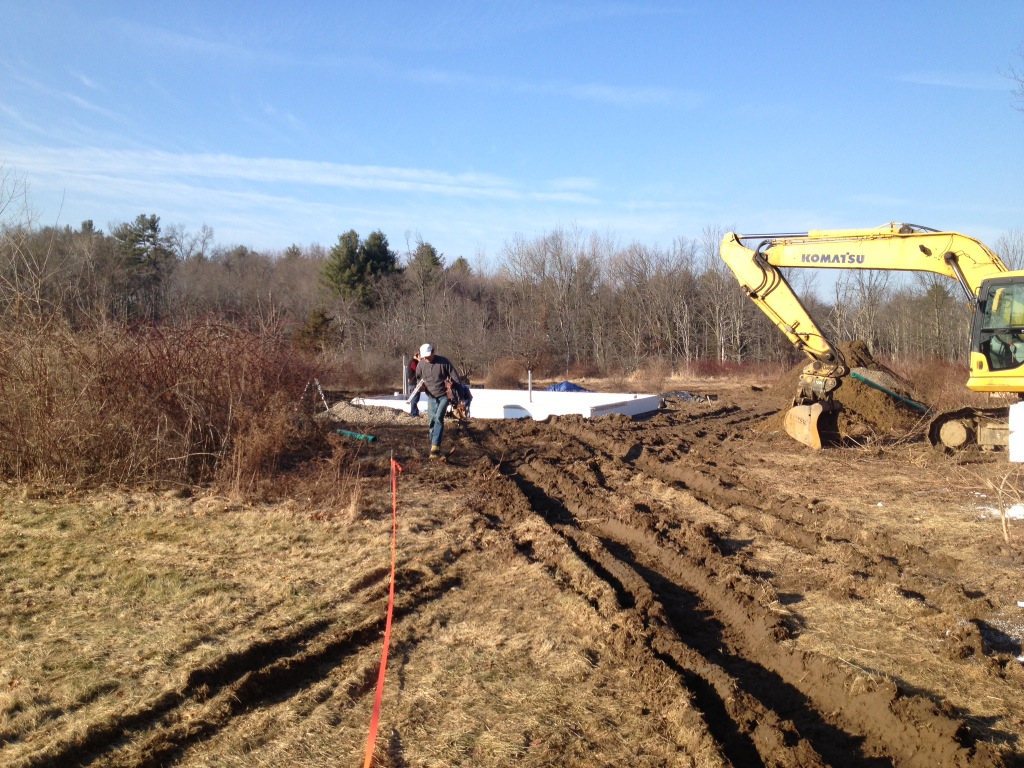
The image above shows a stack of five Structural Insulated Panels (SIPs), soon to be lifted by a crane and installed as the walls of the building. I mentioned SIPs in my overview post a while back, but let me tell you a little bit more about why these types of walls are such an important part of energy efficient design.

Why make walls in a factory?

img-alternative-text

Youve probably seen a traditionally framed wall at a construction site, a web of 2 x 4 or 2 x 6 lumber going in every direction. Long horizontal boards, called plates, are placed along the top and bottom of the wall, vertical boards, called studs, run the height of the wall and little horizontal pieces, called nogging, are placed in between the studs. You have to be careful to lay out everything so that the window and door openings are taken into account and adequately reinforced. Plywood goes on the outside once the lumber is in place.

img-alternative-text

On the other hand, our SIPs walls are fabricated in a factory in Vermont. The panels are huge, consisting of a single 8 inch thick slab of EPS foam sandwiched between two long pieces of oriented strand boards (OSB), and measuring 4 feet wide and two stories tall. The foam and OSB are held together with urethane glue.

Fabricating the panels in an indoor setting adds a number of advantages: automated machinery cuts and laminates the panels quickly and precisely without generating much waste; the shape and layout of the panels are digitally uploaded to the manufacturing equipment without the need to interpret drawings onsite; the quality of the panels can be tightly controlled and verified before shipping; and construction times are shorter because the panels can be made while the foundation is being constructed.

The end result is a monolithic panel that is airtight and super-insulated. The panels interlock, but you still have to seal the edges with tape. Although some builders use only the panels themselves as the walls, we will be adding 2 x 6 interior wall studs and blown-in fiberglass insulation to increase the R value of the walls and to provide space for electrical wiring.

youtube

In the video above, Matt OMalia describes the process of installing the SIPs at the GO Home.

Concrete floor looks great!

img-alternative-text

After a worrying about the concrete floor last week, I was excited to see how the surface of the concrete turned out. I think it looks great – it has a nice matt finish to it, some interesting texture and the color is pleasing. I guess it will add more of an industrial feel to the home rather than a fancy shiny granite look, which is cool — maybe even better than a polish.

This is better than polished concrete

There appear to be multiple definitions of "polished" concrete. The architect and builder told me that the actual grinding part of the polish – the part that gives it its mirror like shine – wasnt planned for, or included in the price. That step can be done later, if desired, but it would add a substantial amount to the cost of the floor. In the end, I think the builder went with the best of all possible options. Its the economical option because the expensive grinding process was omitted. Its the healthy option because we didnt use a chemical sealer. Plus, its the durable option because we used a densifier to harden the concrete.

img-alternative-text

The image above is a closeup of the concrete control joint, a cut in the concrete that promotes cracking underneath the joint, instead of along the surface. You can also get a better sense for the texture of the surface — its pretty smooth to the touch. Im not sure what part of the texture will wipe off when its cleaned, but Im feeling good about it, regardless.

Backfilled around the perimeter

img-alternative-text

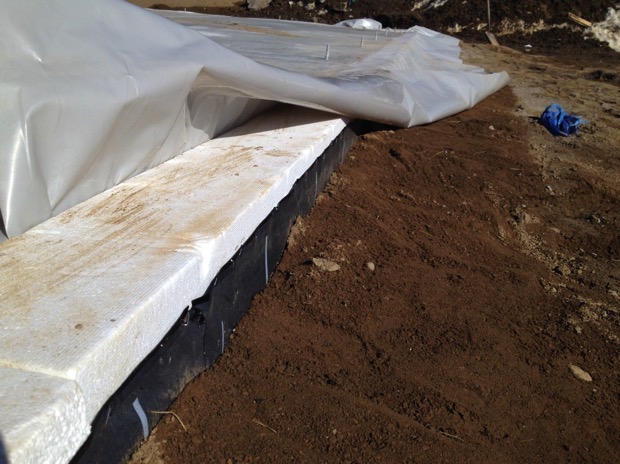
Heres an image of the EPS foam, having been lined with a black covering — the ice and water shield — and backfilled with dirt. Buried under the dirt is another EPS panel, a "wing" that serves to insulate the ground under the wing from frost. The gray plastic is the poly vapor barrier that forms a continuous seal underneath the concrete.

Monday, February 24, 2014

Weeks 6 & 7 - Getting ready for the concrete

Week 6 brought more snow

Cold temperatures and endless snow made it impossible to get any work done in week 6. It’s hard to believe how wintery this winter has been, especially since the fall was so warm. Now the project is buried deep in snow, seemingly halted indefinitely.

Week 7 - a tent for the concrete

Wow! The builders saw an opening in the weather and scrambled to put up a tent. Check out the major snow removal operation they pulled off. We must have had an accumulation of at least two feet of dense wet snow, yet they somehow shoveled all that snow off of the EPS foam and also plowed extensively around the perimeter.

The purpose of the tent is to keep the concrete warm enough so that it can solidify and be polished, and to protect it from the elements. The polishing process is done under water (to protect the crew from harmful dust particles), so the temperature must be kept well above freezing. You can see a large propane tank off to the right. We’re probably using more energy to keep that tent warm than will be used by the home for many years. Hopefully, everything will go smoothly with the concrete and it will be done soon.

Here’s what it looks like inside the tent. The structural fill has just been compacted, burying the plumbing, conduits and radon mitigation piping. Now, rebar must be installed prior to pouring the concrete, which should happen tomorrow.

Saturday, January 25, 2014

Week 3 - Too cold to do much

No concrete happened this week and neither did much else — my guess is that the cold had something to do with it. The temperatures were in the teens and the single digits all week. Still, I’m amazed at what the crew accomplished despite the frigid temperatures.

Kinda looks like a trash dump at the moment, but if you look closely there are a couple of interesting things to see. Look beyond the tarps; they are just protecting the foundation from the snow flurries we’ve been experiencing. You can see what appears to be a layer of dirt deposited into the EPS foam container; this is actually more of the structural fill. Underneath the structural fill are buried the sewage lines and water piping to the kitchen (to the right, in black) and the first floor bath (toward the back, in black). The new white pipe off to the left is the radon mitigation pipe that will run up to the attic. This pipe connects to a series of perforated pipes imbedded under the structural fill that will serve to collect any radon gas that might build up under the concrete floor and vent it to the roof. The gray piping in the middle is the conduit to the electrical panel.

Saturday, January 18, 2014

Week 2 - The foundation and a beaver update

The flowable fill

I got a text on Wednesday from my neighbor Jesse saying “concrete!” and I dropped the grant proposal I was editing and raced over to the lot. When I showed up, though, I realized that it wasn’t concrete — even though it looks like concrete and the truck probably looked like a concrete truck — it was the flowable fill.

What’s flowable fill? Here’s a closeup. It’s a thin layer of cement, sand and water mixture that provides at flat, smooth and void-free surface. It’s not as strong as concrete, but doesn’t need to be: it’s simply a more convenient option than trying to smooth out the base layer of structural fill (the compacted sand/gravel mixture). The various pipes that you see sticking up are the electrical lines and water lines (in the center), the sewage drain (on the right) and the conduit for phone, electricals, cable and some other mysterious stuff that I don’t know about (on the left).

Here’s the cross section of the whole foundation, called a frost-protected shallow foundation (FPSF). More info is available in an article written by Alan Gibson, co-owner of GOLogic. Alan describes the cost savings of a slab foundation, the site preparation requirements, the foam insulation requirements and the technique for pouring the concrete.

Beaver update, bad news

It was such a nice day that I took a walk down to the brook to check out the amazing tulip trees (Liriodendron) that Vivienne had told me about. The beaver dam is still holding up, even through all the rain, snow and cold.

To my horror, I discovered yet another disaster wrought by my ungrateful squatters, the beavers. Two magnificent willow trees by the road have been chewed all the way around the base their trunks. Vivienne says this will likely kill the trees, as the layer of wood directly underneath the bark is the layer through which the tree’s nutrients are transported. So sad. Thankfully, someone has saved the other trees nearby by installing chicken wire, but I suppose they figured that the willows are a lost cause.

The EPS foam is in place

On friday, Bruce (the carpenter) and Jim (his helper/painter) installed the Expanded Polystyrene (EPS) foam.

They fit the foam pieces together like a jigsaw puzzle on top of the flowable fill and reported that it was relatively easy to set everything in place. The 8" thick foam pieces are apparently heavier than they look. The raised side wall will insulate the side of the concrete slab while also creating a bowl in which to pour the concrete. You can see that half of air-vapor barrier has been laid down already. Next week, hopefully, we’ll get to pour the concrete.

Wednesday, January 15, 2014

Week 1 - Prep for the foundation

The undisturbed building site

Luckily, a bunch of snow and a thick layer of grass have served to insulate the ground from the cold and have kept it from freezing, even through the recent cold spell. The picture above shows an image of the future location of the residence. See those red bushes? Multiflora rose: worst plant ever; invasive plus thorny plus big and strong equals bad news. I’ve been fighting with it for the past half-year. I had to clear it from around the site and from under the apples trees.

Which way is south?

The whole house design hinges on a south facing structure, as outlined in our last post. Unfortunately, you can’t just use the compass in your iPhone to figure out which way is south. A compass points to the magnetic south (which is strangely enough the north end of the earth’s magnetic dipole), but we want to point the house toward the sun — midway between sunrise and sunset — often referred to as “solar south.” This will ensure that the south face of the house is exposed to sunlight symmetrically — the same amount of sunlight in the morning as in the afternoon.

Mary and I went out to the lot at midday (which happened to be at 11:45 AM, halfway between sunrise and sunset), and we put the thin green stakes in the ground in line with the shadow cast by sun, as shown above, to indicate the direction of solar south. Then Kyle (the builder) and I placed the wooden stakes with orange streamers at the four corners of the home. It looks so small! That’s what went through my mind when I saw the 26’ by 26’ square, the location of the outside corners of the walls. I wonder if it will feel too small when it’s finished. Oh boy.

We angled the house slightly westward to help avoid looking directly at the neighbor’s home. Matt (the architect) believed that the exact angle south wouldn’t significantly affect the solar heat gain.

It begins!

Here’s the progress, taken the week of January 7th, complete with fun tractors and big piles of dirt. We’ve broken ground!

A shot of the cleared ground under the foundation. The topsoil was removed and the remaining soil was compacted. You can see how the water, sewer, electrical, PV and communications conduits and stub-ups are already set into place. Hay with black plastic on top are keeping the ground from freezing.

The EPS foam has been delivered. Once the structural fill is put down over the compacted dirt, the EPS foam will be laid down and will serve as a container in which to pour the concrete. The resulting concrete slab will be the downstairs floor inside the home.