Some of my new neighbors might be curious about the activity on their street, so I made up this postcard that Ill drop in their mailboxes. I thought it would be nice to let them know whats going on, but really Im interested in getting started on my ambitious plan of world domination — by convincing everyone to live in ultra-efficient tiny houses!
Here are some of the most striking energy efficiency features of the Potwine Passive House, as listed in the postcard. Ill talk more in depth about these in future posts.
What is a passive house?
Originally popularized in the seventies by back-to-the-earth types, the passive house concept didn’t hit the mainstream until the early nineties when Professors Fiest (Lund University, Sweden) and Adamson (Institute for Housing and the Environment, Germany) took up the concept in earnest using a strictly scientific approach. The central thesis is that the greenhouse effect can be exploited in buildings to provide most of their heating needs. So much heat is available from the sun, in fact, that the original idea involved generating all of a building’s heat from the sun — hence the name passive: no active or mechanical processes would be required. A building would simply take care of its own temperature inherently, reminiscent of the clever designs of ancient buildings that functioned astonishingly well without a modern furnace or air conditioning. Today’s passive homes use many active mechanical systems like air conditioning and air ventilators, but the majority of heating comes passively, from the sun.
South facing windows are the critical source of heat
South facing windows can capture a tremendous amount of the suns energy in the winter while the sun is at a low angle in the sky. In the summer, when the sun is at a high angle in the sky, an overhang blocks light from hitting the windows to prevent excess heating. Windows facing west, east and north are kept to a minimum, if possible — they will lose heat while adding little solar heat gain. The challenge is to keep the south facing part of the building livable: too many windows will generate too much heat during the day and lose too much heat at night. We want just the right amount of south facing windows to generate enough heat, but no more.
R6 insulated triple pane windows make a huge difference
Windows are terrible insulators; they incur the greatest heat loss in most buildings. Increasing the insulating capability of the windows will result in enormous energy savings.
The actual amount of heat loss expected from a given type of window is quantified by a metric called the U-value, a measure of how much heat is lost per temperature difference between the inside and outside. A good double pane vinyl window will have a U-value of 0.37, given in the (stupid) US units of [Btu/hr SF ℉]. We’ve elected to go with German Kneer-Südfenster triple pane UPVC windows with an amazingly low U-value of 0.167, lower by more than half the U-value of a typical double pane window! This means that our triple pane windows will be retaining more than twice as much heat compared to double pane windows, and this will make a huge difference in energy savings.
The U-value is the inverse of the R-value, the common metric for insulation. Converting the U-value to the R-value of our windows gives an R-value of R6.
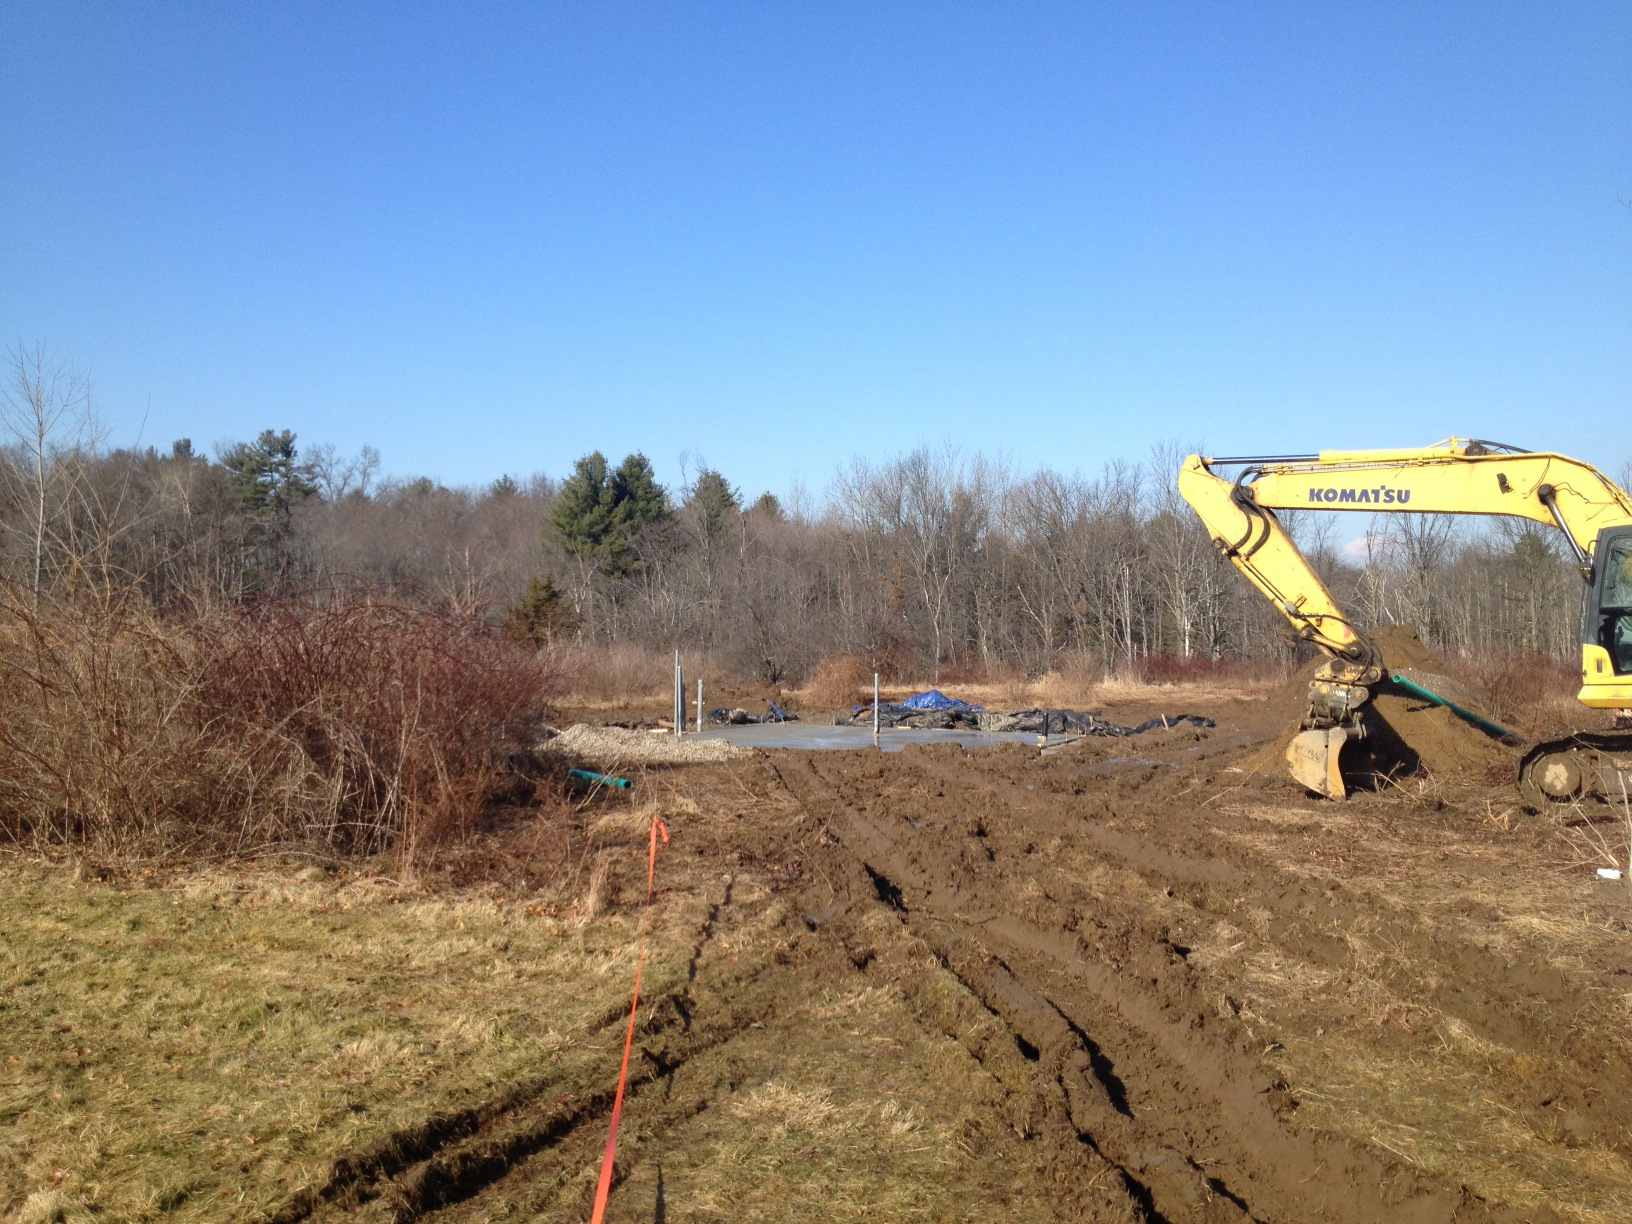
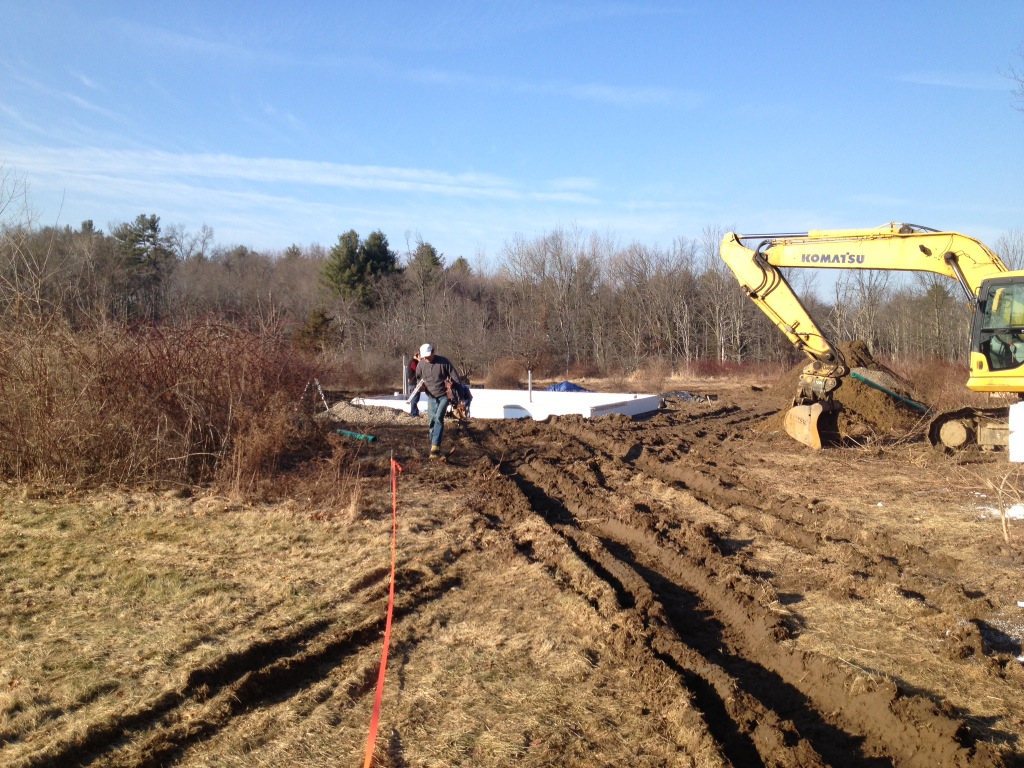
Concrete thermal mass foundation stores heat for the night

What happens at night when the sun goes down and it is cold outside? We want to be able to store the heat gained during the day and use it at night. That is, amazingly, exactly what the concrete slab foundation will do! The foundation of the home consists of a concrete slab sitting on top of a layer of insulating foam. The concrete serves as a huge reservoir for heat, helping to keep the temperature constant inside the home by absorbing heat during the day when the sun is out, and by releasing heat at night when the temperature inside cools down. The slab is insulated from the ground to prevent stored heat from escaping through the earth. The trick is to figure out how much concrete is needed to absorb a sufficient amount of energy during the day to keep the home warm at night. Too much concrete will never allow the home to get warm. Too little concrete will never be able to keep the home warm all night. The architect uses an energy model to decide how thick to make the concrete slab.
R50 insulated prefabricated wall panels
The walls are put together in a new and interesting way that helps lower cost, save time and reduce air leaks. Huge wall panels are prefabricated ahead of time in a factory setting, shipped to the building site and then hung on the frame. The installation process only takes a couple of days. The huge size of the panels minimizes the little cracks and seams that cause air leakage in traditional walls. The panels are called Structurally Insulated Panels (SIPs). The SIPs are 8" thick. A normal 2"x6" wall is added to the interior of the SIPs and filled with blown-in fiberglass, resulting in a super insulated wall assembly with an astronomical R-value of R50.
Heat recovery ventilation keeps the air fresh
A typical home leaks a lot of air to the outside. It’s equivalent to leaving the front door completely wide open! In many cases, the leaks are there by design: they bring in fresh air. But when a home is tightly sealed, things will get stinky pretty quickly unless you have a way of ventilating the place. The problem is that you can’t just open a window because you’ll lose heat (or cold) and defeat the whole purpose of tightly sealing the home. The solution is absolutely ingenious: a Heat Recovery Ventilator (HRV). The HRV brings fresh air into the home and simultaneously exhausts stale air to the outside, yet miraculously doesn’t allow heat to escape. I’ll explain how this works in a future post; it’s very clever.
Drain water heat recovery saves hot water
Hot water is a tough issue to solve. Heating up water requires a tremendous amount of energy. Many choose to employ natural gas water heaters, which are probably the most economical option (at least until the natural gas bubble bursts). Our goal is to go fossil fuel free, so we had to consider other options. In a future post, I’ll talk about why we ended up choosing on-demand tankless water heaters instead of solar thermal hot water or a heat pump water heater.

For the moment, however, let me tell you about one of the really cool aspects of our hot water system. Think about what happens when you take a shower. Hot water pours over your body and disappears down the drain. All that energy goes into heating the hot water, but most of the energy is immediately waisted down the drain. Enter the Drain Water Heat Recovery (DWHR) pipe: a drain pipe that recovers most of the heat in the water flowing down the drain and magically transfers it back to the inlet of the water heater. The operating principle is similar to that of the HRV.
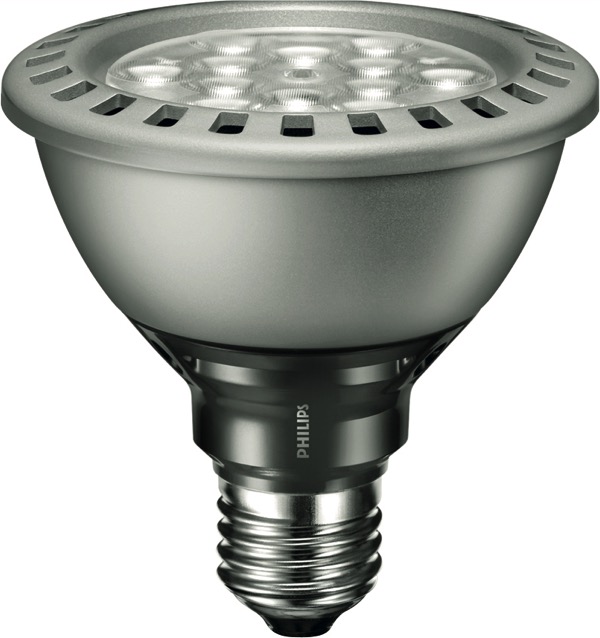
LED lighting saves electricity
LED lighting represents a dramatic improvement in lighting technology, providing higher efficiency than incandescents, better color than fluorescents, dimmability and cost savings over the ridiculously long 40 year life of the bulb. Like most energy efficient options, the upfront costs are high, but you save money in the long run. We are outfitting the house with PAR30 (short neck) LED track lights. These bulbs are larger than your standard GU10 or MR16 halogen replacement track light bulbs, but they provide more light, are cheaper and are more efficient. A 12 Watt PAR30 LED replaces a 75 Watt halogen bulb, saving an amazing 84%!
Other cool features
Check back here to find out more about the other fascinating energy saving features of the Potwine Passive House, including:
- An efficient box-shape building structure that retains heat extraordinarily well
- A bunch of clever space saving architectural elements that make a small home appear more spacious
- A 4kW solar photovoltaic (PV) array that will provide 100% of energy
- Tankless on-demand water heaters from Stiebel Eltron, providing instantaneous hot water that never runs out, all in a tiny package at a low cost
- An efficient Fujitsu heat pump, providing heating or cooling in one unit, at an efficiency more than two times that of a conventional heating system
- An efficient heat pump dryer, more than twice as efficient as a conventional dryer
- An efficient induction stovetop that boils water faster (while using less energy) than any other stovetop
- An efficient steam oven that will cook a whole chicken in 20 min!
- A recirculating range hood from Vent-a-hood
- An eMonitor energy monitor that tracks the electricity usage of every circuit in the home
It’s not just a bunch of cool gizmos
Overall, I want to point out that the home is not just a bunch of really cool technological gizmos. It’s a fundamentally new approach to assembling a building. Beginning with the concept of using solar heat, most of the other features derive from this simple first step: a lot of insulation and a tight building envelope to hold in the heat, an HRV to bring in fresh air without losing heat, and a concrete slab to store the heat for later. The second important aspect is the elimination of fossil fuel combustion in favor of electricity. It just so happens that things that use electricity are way more efficient than things that burn fossil fuels. We benefit from this increased efficiency when we install the PV system, which will be much smaller than it would have been without all the super efficient components listed above. In a nutshell, it’s a smarter, more holistic approach. That’s how we expect to achieve a home that uses 8 times less energy than the typical Massachusetts home.